
The crux of the entire project was preparation of the horizontal cross bars for the “Legs.”
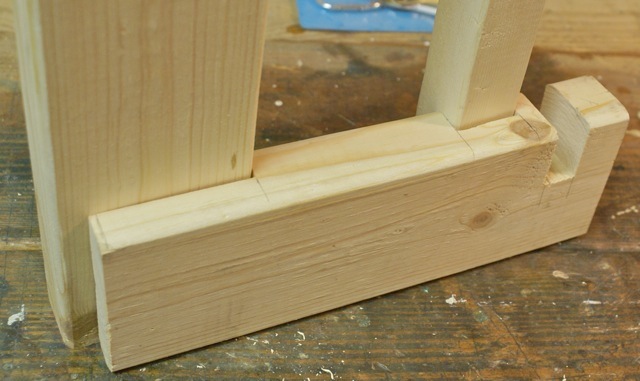
In order to accomplish the planned design, it was found that a band saw was needed that had enough height to be able to slice into the 3.5 in height of a 2×4 stud. The notch for the 1×3 front foot panel lock (or brace) in the lower horizontal cross bar of the Legs, shown below, required a 3/4″ router.
Bookshelf Inside side of the Lower Leg Horizontal Cross bar
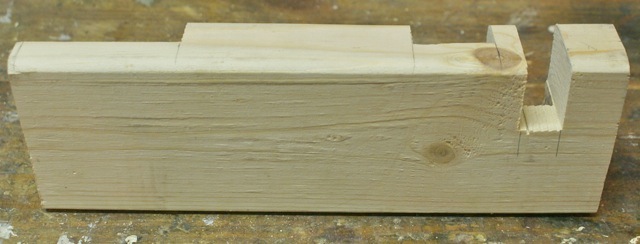 Rear of Lower cross bar <——– Front ————————->
Bookshelf Outside side of the Lower Leg Horizontal Cross bar
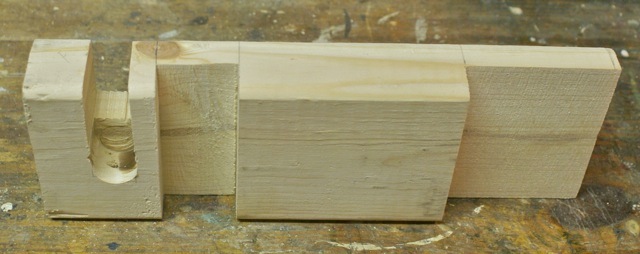 Front of Lower cross bar <——– Rear ————————->
Closer view Bookshelf Outside side of the Lower Leg Horizontal Cross bar
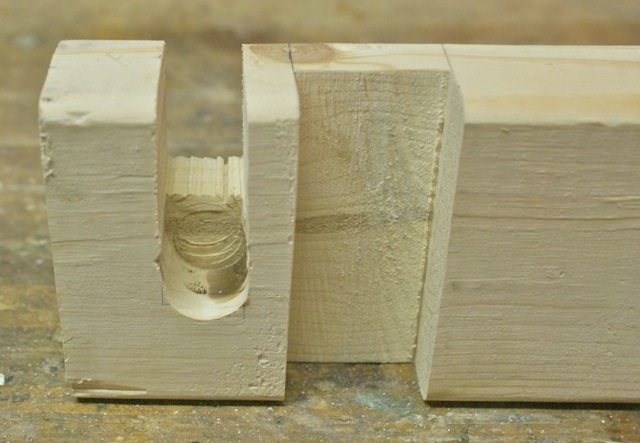 Notch for locking front kick panel (brace) and Notch for vertical 2×2
How vertical bars of Legs will fit in

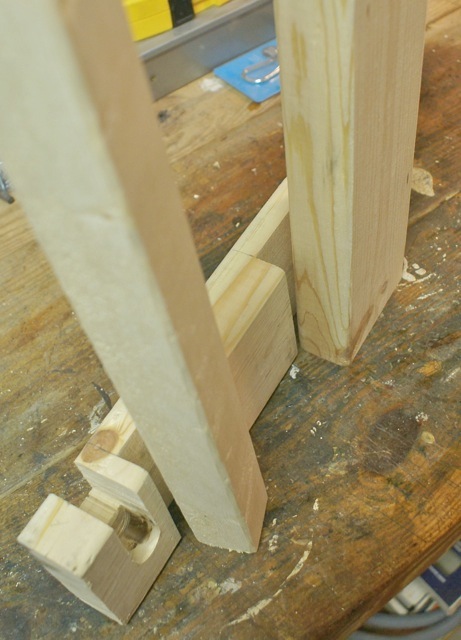
Now all of this may not make any sense at this point, but keep following along. Our next shots are of the completed Leg units. Notice in the above picture how the horizontal cross bar is shorter than the width of the 2×4. That part of the 2×4 will be cut to the length of the cross bar to allow space for the wall baseboard. Both the 2×4 and the 2×2 will be cut half way through to fit flush with the cross bar also. The lower shelf will sit on top of this cross bar. An upper horizontal cross bar will be the base for the upper shelf as well.
Below are some photos of the completed Legs. A brace was added to the inside of the lower cross bar for some wobble stabilization and also to provide a place for locking in the bottom shelf. As you’ll see later on, the bottom shelf was the ONE place where screws had to be added to eliminate the side to side wobble.

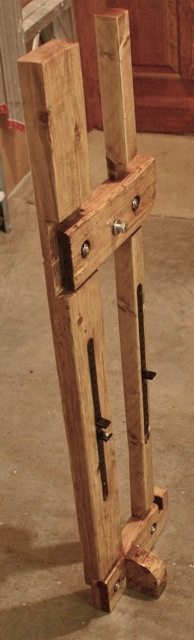
Inside view of one shelving unit “Leg.”
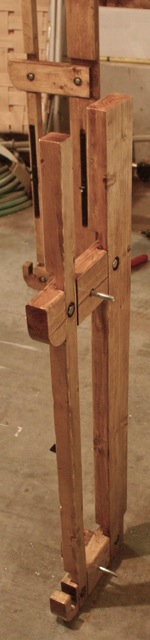
The Leg units are bolted and glued together to form one piece of the whole “portable shelving unit” The center bolt in upper horizontal cross bar is for Uniting the two – 3 ft shelving units together.
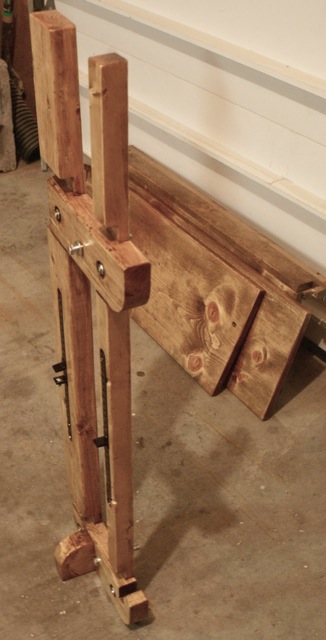
The picture below includes all 6 pieces of one 3 ft shelving unit, behind the standing Leg.
I also might note at this point, that the top lengths of the 2×4 and 2×2 on the legs were left to stick above the upper shelf for two reasons. If the two 3-ft shelves were to be stacked, this would allow enough space between the upper and lower units for a useable shelf itself. And if not stacked those extensions could be used as bookends.

Below are outside view of bookshelf Legs:

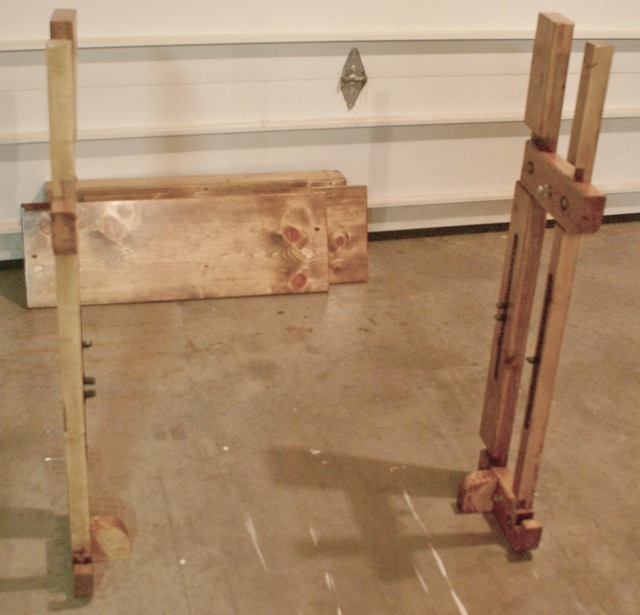
Here the two legs are set up for assembly of one of the 3 ft units.
Link to “Assembly of 3-ft Shelving Unit” Page
Link back to A Portable Bookshelf 1 – Goals, Resources, Concepts, Plans
Link to end, A Portable Bookshelf 4 -Union of the Two 3-ft Shelves
